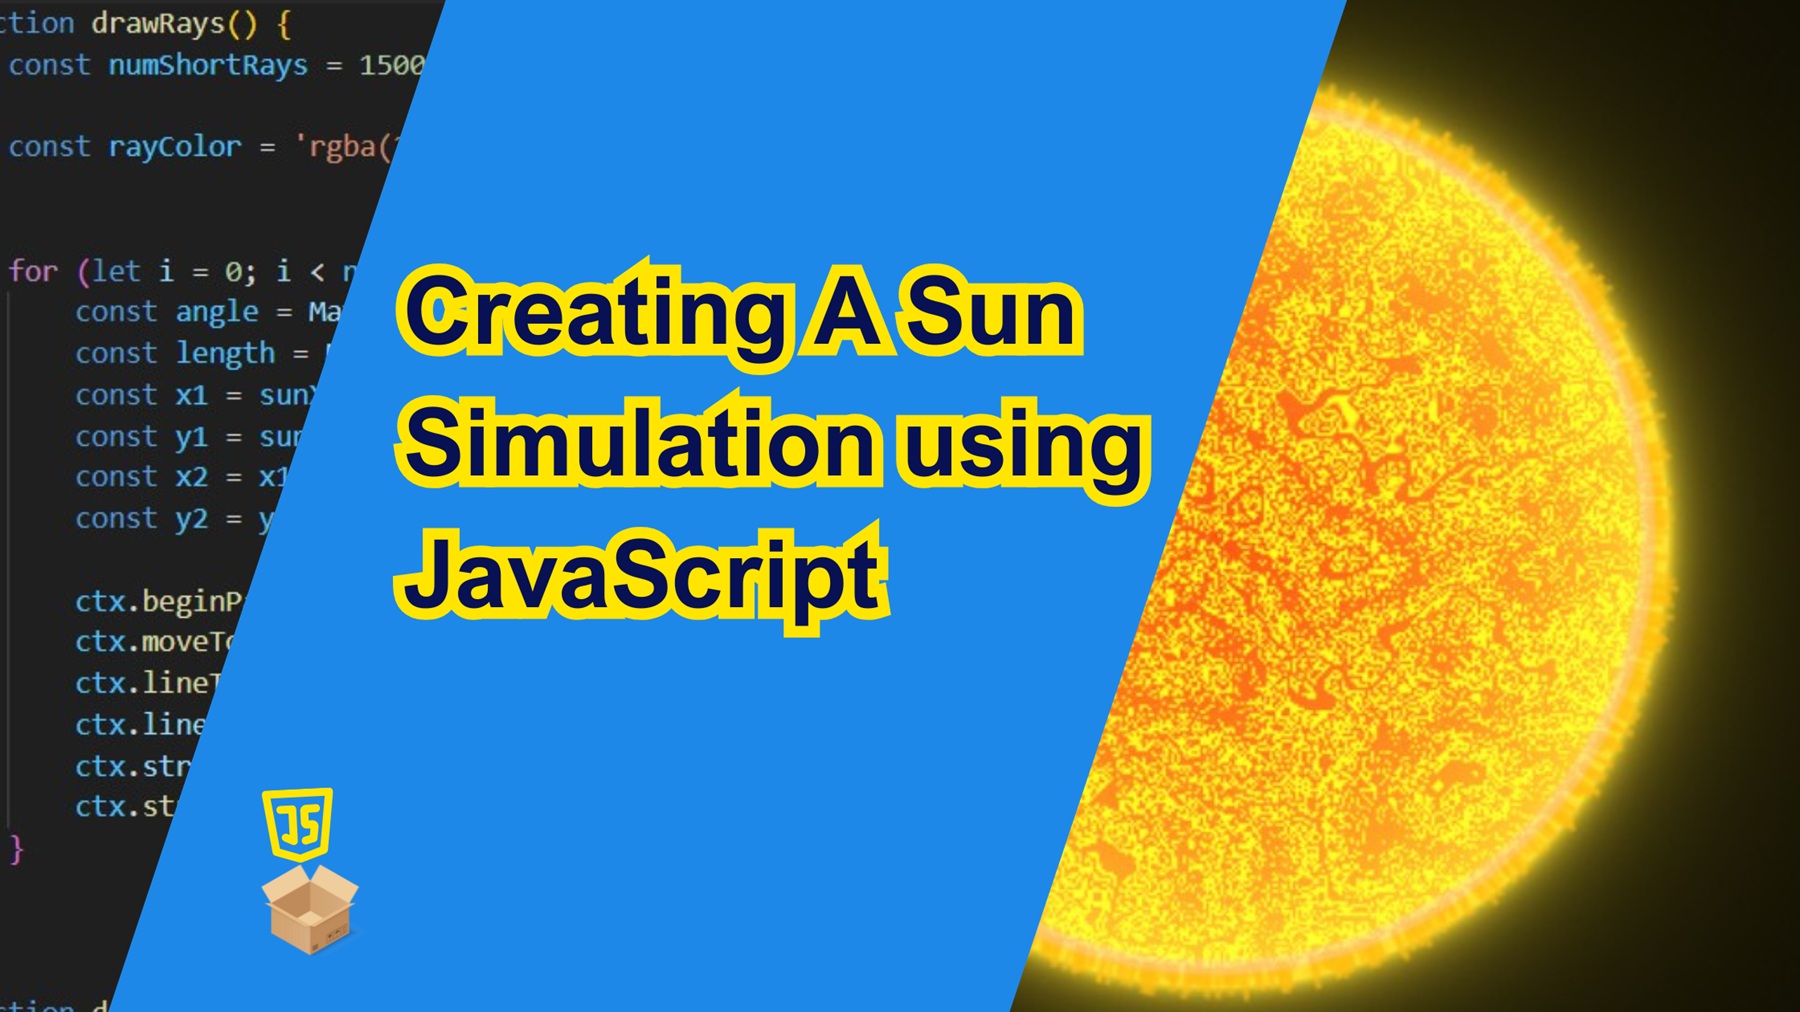
Creating A Sun Simulation using JavaScript
Did you know the Sun is a staggering 149 million kilometers away from Earth? Yet, we often see stunning, up-close images of it in movies and animations. How is that possible? The answer lies in computer-generated imagery (CGI).
In this tutorial, we are going to look at how to create our own digital visualization of the Sun. Our simulation will feature a glowing Sun with animated rays and a textured surface generated using coded noise. Let’s dive in!
Prerequisites
Before we get started, make sure you have a basic understanding of HTML, CSS, and JavaScript.
- Basic Understanding of HTML, CSS, and JavaScript: Familiarity with the fundamental concepts of HTML for structuring web pages, CSS for styling, and JavaScript for adding interactivity is essential. This tutorial assumes a basic knowledge of these languages.
- Web Browser: Use a modern web browser like Google Chrome, Mozilla Firefox, or Microsoft Edge.
For the purpose of this tutorial, you can download the source files for the demo to help you follow along:
Note: As you test the source files, ensure that you load them within a suitable environment such that all the files are loaded. For offline use, we recommend that you use Live Server and vscode to load the files. Simply open the files in Vscode and run “index.html” using Live Server.
Demo
Here is what we are going to create.
Lets Get Started!
Let’s start by setting up the basic HTML structure for our project as usual. Create an HTML called “index.html”, with a basic HTML web format, and add a canvas element.
Creating the Canvas Element
We create a basic HTML structure with a <canvas> element where we will draw the sun as shown below.
<!DOCTYPE html>
<html lang="en">

<head>
    <meta charset="UTF-8">
    <meta name="viewport" content="width=device-width, initial-scale=1.0">
    <title>Sun Simulation- by 25scripts.com</title>
    <style>
        body {
            margin: auto;
            display: flex;
            justify-content: center;
            align-items: center;
            height: 100vh;
            background: black;
        }


    </style>
</head>

<body>
      <!-- Canvas where the sun simulation is drawn -->
    <canvas id="canvas" width="800px" height="800px"></canvas>

</body>

</html>
Lets also add script tag just below the <canvas> section as shown below. Inside this tag, we shall add our JavaScript code.
<script type=text/javascript>


</script>
Lets Dive Into the Code
The JavaScript code is where the magic happens. Here’s a breakdown of its core components:
1.Setting Up the Canvas
we begin by getting the canvas context and defining the sun’s properties such as its radius and location. Here we are going to locate the sun at the center of our canvas.
const canvas = document.getElementById('canvas');
const ctx = canvas.getContext('2d');

const width = canvas.width;
const height = canvas.height;

const sunRadius = 150;
const sunX = width / 2;
const sunY = height / 2;
2. Drawing the Sun’s Glow and Rays
To create the glowing effect, we use a randomly generated rays. We specify the total number of rays to draw first and then we randomly draw them around the circle defining the circumference of the sun. We use a sine function to add some wavy pattern the rays drawn.
/* Function to draw sun rays */
function drawRays() {
    const numShortRays = 1500; // Total number of rays to draw

    const rayColor = 'rgba(255,190,15, 0.6)'; // Color of each ray with transparency for a glowing effect

    // Loop through and draw each ray
    for (let i = 0; i < numShortRays; i++) {
        // Generate a random angle in radians (0 to 2π)
        const angle = Math.random() * Math.PI * 2;

        // Compute a slightly randomized ray length using a sine function for natural variation
        const length = Math.random() * 10 - 2 * Math.sin(i * 45 * Math.PI / 180);

        // Starting point on the edge of the sun's circle
        const x1 = sunX + Math.cos(angle) * sunRadius;
        const y1 = sunY + Math.sin(angle) * sunRadius;

        // Ending point of the ray based on the random length
        const x2 = x1 + Math.cos(angle) * length;
        const y2 = y1 + Math.sin(angle) * length;

        // Draw the ray
        ctx.beginPath();
        ctx.moveTo(x1, y1);        // Start from the sun's edge
        ctx.lineTo(x2, y2);        // Draw to the end of the ray
        ctx.lineWidth = 2;         // Ray thickness
        ctx.strokeStyle = rayColor; // Ray color
        ctx.stroke();              // Render the ray
    }
}
The sun glow is implemented using the drawSunRing function which adds a bright ring just at the sun’s radius as shown below:
/* Function to draw the outer ring of the sun */
        function drawSunRing() {
            ctx.beginPath();
            ctx.arc(sunX, sunY, sunRadius, 0, Math.PI * 2);
            ctx.lineWidth = 5;
            ctx.strokeStyle = 'rgba(255,200,200,0.4)';
            ctx.stroke()
            ctx.closePath();
        }
3. Generating Perlin Noise for the Sun’s Texture
We also need to implement a Perlin noise class to create smooth variations in brightness and texture.
/* Class to generate a noise texture using Perlin Noise */
class PerlinNoise {
    // Constructor initializes the PerlinNoise object with parameters for size and noise characteristics
    constructor(width, height, scale = 10, octaves = 4, persistence = 0.5, lacunarity = 2.0) {
        this.width = width;            // Width of the noise texture
        this.height = height;          // Height of the noise texture
        this.scale = scale;            // Controls the size of features in the noise
        this.octaves = octaves;        // Number of iterations for fractal noise (higher = more detail)
        this.persistence = persistence; // Controls how quickly the noise fades out across octaves
        this.lacunarity = lacunarity;  // Controls how the frequency of the noise increases across octaves
        this.gradients = {};           // Cache to store gradients for each grid point
    }

    // Generates a random gradient vector (x, y) for a given grid point (ix, iy)
    randomGradient(ix, iy) {
        const angle = Math.random() * Math.PI * 2; // Random angle for the gradient
        return { x: Math.cos(angle), y: Math.sin(angle) }; // Return a unit vector in random direction
    }

    // Calculates the dot product between the gradient at a grid point and the vector from the grid point to (x, y)
    dotGridGradient(ix, iy, x, y) {
        // Retrieve or generate the gradient for the current grid point (ix, iy)
        const gradient = this.gradients[iy * this.width + ix] || (this.gradients[iy * this.width + ix] = this.randomGradient(ix, iy));
        // Compute the differences in x and y between the point (x, y) and the grid point (ix, iy)
        const dx = x - ix;
        const dy = y - iy;
        // Return the dot product between the gradient and the vector (dx, dy)
        return (dx * gradient.x + dy * gradient.y);
    }

    // Smooths the input t to create a fade effect (used for interpolation)
    fade(t) {
        // Fade function to smooth the input, producing a smoother transition between grid points
        return t * t * t * (t * (t * 6 - 15) + 10);
    }

    // Compute Perlin noise value at the point (x, y) using interpolation
    perlin(x, y) {
        // Get the integer coordinates surrounding the point (x, y)
        const x0 = Math.floor(x);
        const x1 = x0 + 1;
        const y0 = Math.floor(y);
        const y1 = y0 + 1;

        // Calculate fade values for x and y (used for interpolation)
        const sx = this.fade(x - x0);
        const sy = this.fade(y - y0);

        // Calculate the gradients at the grid points
        const n0 = this.dotGridGradient(x0, y0, x, y);
        const n1 = this.dotGridGradient(x1, y0, x, y);
        const ix0 = (1 - sx) * n0 + sx * n1; // Interpolate between n0 and n1 in x direction

        const n2 = this.dotGridGradient(x0, y1, x, y);
        const n3 = this.dotGridGradient(x1, y1, x, y);
        const ix1 = (1 - sx) * n2 + sx * n3; // Interpolate between n2 and n3 in x direction

        // Interpolate between ix0 and ix1 in the y direction to get the final noise value
        return (1 - sy) * ix0 + sy * ix1;
    }

    // Generate fractal noise by combining multiple octaves of Perlin noise
    generateNoise(x, y, t = 0) {
        let value = 0;           // The resulting noise value
        let amplitude = 1;       // Amplitude for the current octave
        let frequency = 1;       // Frequency for the current octave
        let maxValue = 0;        // Maximum possible value for normalizing the noise

        // Sum noise values from multiple octaves
        for (let i = 0; i < this.octaves; i++) {
            value += this.perlin((x + t * 10) * frequency / this.scale, (y + t * 10) * frequency / this.scale) * amplitude;
            maxValue += amplitude;          // Keep track of the total amplitude
            amplitude *= this.persistence;  // Reduce the amplitude for the next octave
            frequency *= this.lacunarity;   // Increase the frequency for the next octave
        }

        // Normalize the resulting noise value to be between 0 and 1
        return (value / maxValue) * 0.5 + 0.5;
    }

    // Public method to get the noise value at (x, y) at a specific time t
    sample(x, y, t) {
        return this.generateNoise(x, y, t); // Return the generated noise value
    }
}
3. Creating the Voronoi Noise for a Dynamic Surface
The Voronoi noise class modifies the Perlin noise output to create more defined structures on the sun’s surface.
/* Class to generate Voronoi noise texture with Perlin noise influence */
class VoronoiNoise {
    // Constructor initializes the VoronoiNoise object with parameters for noise texture and point generation
    constructor(numPoints = 50, scale = 3.4, smoothness = 0.5, emissionStrength = 5) {
        this.numPoints = numPoints;         // Number of random points used for Voronoi cells
        this.scale = scale;                 // Scale factor for controlling the influence of each point
        this.smoothness = smoothness;       // Smoothness factor to control how soft the edges of cells are
        this.emissionStrength = emissionStrength; // Controls how intense the Voronoi effect is (higher = stronger effect)
        this.points = [];                   // Array to store randomly generated points
        this.noiseTexture = new PerlinNoise(width, height, 100, 4, 0.5, 2.0); // PerlinNoise texture to add additional detail
        this.generatePoints();              // Generate random points for Voronoi cells
    }

    // Generates random points for Voronoi cells
    generatePoints() {
        this.points = [];  // Reset the points array
        // Create `numPoints` random points within the canvas size (width and height)
        for (let i = 0; i < this.numPoints; i++) {
            this.points.push({
                x: Math.random() * width,  // Random x coordinate within width
                y: Math.random() * height  // Random y coordinate within height
            });
        }
    }


}
4. Applying the Sun Texture
Using the generated noise, we color the pixels within the sun’s radius to create a dynamic fiery effect. First create a instance of the voronoi noise class which will help us generate the noise for texturing the sun. The applySunTexture function is used to manipulate the pixels of sun to achieve desired effect as shown below.
 // Create an instance of the VoronoiNoise class to generate Voronoi noise texture
const voronoi = new VoronoiNoise();
/* Function to apply a sun texture using Perlin and Voronoi noise */
function applySunTexture() {
    // Get the current image data from the canvas context (ctx)
    const imageData = ctx.getImageData(0, 0, width, height);
    const data = imageData.data; // Access pixel data of the image

    // Loop through each pixel in the canvas (y and x are pixel coordinates)
    for (let y = 0; y < height; y++) {
        for (let x = 0; x < width; x++) {
            // Calculate distance from the current pixel (x, y) to the sun's center (sunX, sunY)
            const dx = x - sunX;
            const dy = y - sunY;

            const distance = Math.sqrt(dx * dx + dy * dy); // Euclidean distance from the sun's center to the pixel
            const dt = Math.sin(time); // Time-based value for dynamic changes (like sun's movement)
            var noiseScalar = Math.max(0.1, dt); // Scalar to adjust noise based on time
            noiseFactor = Math.min(1, noiseFactor); // Cap the noise factor to a max value of 1

            // If the pixel is inside the sun's radius
            if (distance < sunRadius) {
                const index = (y * width + x) * 4; // Index in the pixel data array

                // Generate Voronoi noise for texture details around the sun
                var minDist = Infinity;
                var noiseFactor = voronoi.noiseTexture.sample(x, y, dt * 20); // Sample Perlin noise texture with dynamic time-based scaling
                noiseFactor = (Math.sin(noiseFactor * 45) * 20); // Apply sine wave to create wavy effects in the noise
                noiseFactor = (noiseFactor - Math.floor(noiseFactor * 1.02)); // Normalize the noise factor

                // Loop through each Voronoi point to calculate the minimum distance to the pixel
                for (let i = 0; i < voronoi.points.length; i++) {
                    const dx1 = (noiseFactor - x) * voronoi.scale; // Distance in x-direction scaled by Voronoi scale
                    const dy1 = (0 - y) * voronoi.scale; // Distance in y-direction scaled by Voronoi scale
                    const dist = Math.sqrt(dx1 * dx1 + dy1 * dy1); // Calculate Euclidean distance to the Voronoi point

                    if (dist < minDist) {
                        minDist = dist; // Keep track of the nearest Voronoi point
                    }
                }

                // Calculate intensity based on the minimum distance to a Voronoi point and apply smoothness
                var intensity = Math.floor((1 - voronoi.smoothness) * (minDist / width) * 255);
                intensity = Math.min(255, intensity * voronoi.emissionStrength) * noiseFactor; // Adjust intensity based on noise factor

                // Remap the color of the pixel based on the calculated intensity
                remapColor(data, index, intensity);
                data[index + 3] = 255; // Set the alpha (opacity) to full (255)
            }

            // If the pixel is outside the sun's radius (but within a certain range)
            if (distance > sunRadius + 1) {
                const index = (y * width + x) * 4; // Index in the pixel data array

                // Calculate a brightness factor based on distance from the sun
                const brightnessFactor = (distance - sunRadius);
                const diff = Math.abs(sunRadius - distance); // Calculate the difference in distance from the sun's radius
                var f = (90 / (1 + diff * 15)) + 0.05 * Math.sin(dt * 0.5); // Apply time-based factor for glow

                var is_render = true;
                const threshold = 150; // Set a color threshold for rendering
                max_brightness = 255; // Maximum brightness for the glow effect

                // If the pixel is near the sun's outer edge, apply a small glow effect
                if (distance < sunRadius + 10) {
                    is_render = false; // Disable further rendering for this pixel if certain conditions are met
                    var color = data[index] + data[index + 1] + data[index + 2];
                    color = color / 3; // Calculate the average color intensity of the pixel

                    // If the average color is above a threshold, modify the pixel color
                    if (color > threshold) {
                        is_render = false; // Prevent rendering glow if color exceeds threshold
                        const theta = Math.random() * Math.PI * 2; // Random angle for color variation
                        data[index] = data[index] + Math.random() * 5; // Add some random noise to the red channel
                        data[index + 1] = data[index + 1] - Math.random() * 5 - 20 * Math.sin(theta); // Add random variation to the green channel
                        data[index + 2] = data[index + 2] - Math.random() * 5 - 20 * Math.sin(theta); // Add random variation to the blue channel
                    }
                    else {
                        is_render = true; // Enable rendering if conditions aren't met
                    }
                }

                // If rendering is enabled, apply the glow effect to the pixel
                if (is_render == true) {
                    data[index] = max_brightness * 1; // Set red channel to max brightness
                    data[index + 1] = max_brightness * 0.9 - Math.random() * 10; // Set green channel to max brightness with slight variation
                    data[index + 2] = max_brightness * 0.2 - Math.random() * 10; // Set blue channel to low brightness with variation

                    data[index + 3] = 255.0 * f; // Set alpha channel based on the glow factor
                }
            }
            // If the pixel is outside the sun's radius and far from the sun
            else {
                const threshold = 0; // Define a threshold for the fading effect
                if (distance > threshold) {
                    const index = (y * width + x) * 4; // Index in the pixel data array

                    const diff = Math.abs(sunRadius - distance); // Calculate the difference in distance from the sun's radius
                    const offset_value = 255 / (1 + (diff * 0.01 + Math.max(0, 0.1 * dt))); // Adjust intensity based on distance

                    // Apply color offset to create a fading effect
                    data[index] = Math.min(255, data[index] + offset_value);
                    data[index + 1] = Math.min(255, data[index + 1] + offset_value * 0.9);
                    data[index + 2] = Math.min(255, data[index + 2] + offset_value * 0.2);
                }
                else {
                    const index = (y * width + x) * 4; // Index in the pixel data array
                    const offset_value = Math.random() * 0; // Set a random offset value for a slight change
                    data[index] = data[index] + offset_value; // Adjust the red channel
                    data[index + 1] = data[index + 1] + offset_value; // Adjust the green channel
                    data[index + 2] = data[index + 2] + offset_value; // Adjust the blue channel
                }
            }
        }
    }

    // After all the pixels are processed, apply the modified image data back to the canvas
    ctx.putImageData(imageData, 0, 0);
}
5. Remapping the Colors
We also use the remapColor function to change the color of the pixels, with dark patterns being more red and the lighter parts shifting towards orange. This helps to burning hot effect we need.
/* Function to remap color values based on the intensity */
function remapColor(data, index, intensity) {
    // If intensity is below 150, set the color to shades of yellow
    if (intensity < 150) {
        data[index] = 255; // Red component
        data[index + 1] = Math.round(intensity * 3); // Green component based on intensity
        data[index + 2] = 0; // Blue component
    }
    // If intensity is between 150 and 500, set the color to shades of orange
    else if (intensity < 500) {
        data[index] = 255; // Red component
        data[index + 1] = Math.round(255 - (intensity - 85) * 3); // Green component adjusted for the intensity
        data[index + 2] = 0; // Blue component
    }
    // If intensity is above 500, set the color to shades of red and white
    else {
        data[index] = 255; // Red component
        data[index + 1] = 255; // Green component
        data[index + 2] = Math.round(255 - (intensity - 170) * 0.75); // Blue component, fading to white
    }
}
6. Animating the Sun
Finally, we animate draw the sun on the screen by setting an update loop using our timeout as shown below.
/* Function to draw the sun and handle its animation */
function drawSun() {
    // Increment time to simulate a time-based change (e.g., sun movement or transition)
    time += 1;

    // Reset time after it exceeds the threshold to start a new cycle
    if (time > time_threshold) {
        time = 0;
    }

    // Apply the sun texture using Voronoi noise and dynamic effects (e.g., sun glow)
    applySunTexture();

    // Draw the rays emanating from the sun
    drawRays();

    // Draw a ring around the sun (typically used to simulate solar corona or flare)
    drawSunRing();
}

/* Function to clear the canvas with a semi-transparent black overlay */
function clearScreen() {
    // Set the fill color to a semi-transparent black (RGBA)
    ctx.fillStyle = "RGBA(0, 0, 0,0.5)";

    // Fill the entire canvas with the semi-transparent color to clear the screen
    ctx.fillRect(0, 0, width, height);
}

/* Main animation update function that repeatedly updates the screen */
function update() {
    // Clear the canvas before drawing the next frame
    clearScreen();

    // Draw the sun with its effects (e.g., texture, rays, ring)
    drawSun();

    // Call the update function recursively to create a continuous animation loop
    setTimeout(update, timeout); // Using a timeout to control the frame rate and animation timing
}

// Start the animation loop by calling the update function for the first time
update(); // Start the animation
Conclusion
We hope this tutorial helps you to get better at coding. As an additional exercise, try to optimize the processing of the effect. Currently we are processing every pixel of the canvas image to achieve this effect. Perhaps you could try only sample the pixels within the sun’s location. As hint, you can use the getImageData and putImageData functions.
In this tutorial, we built a realistic animated sun simulation using JavaScript, the Canvas API, and noise generation techniques. This simulation can be expanded further with additional effects like solar flares, dynamic lighting, and user interactions. Also kindly leave a comment and share any of your projects. We would love to see what you create. Happy creative coding!