Creating a Fire Particle Effect with JavaScript and Canvas
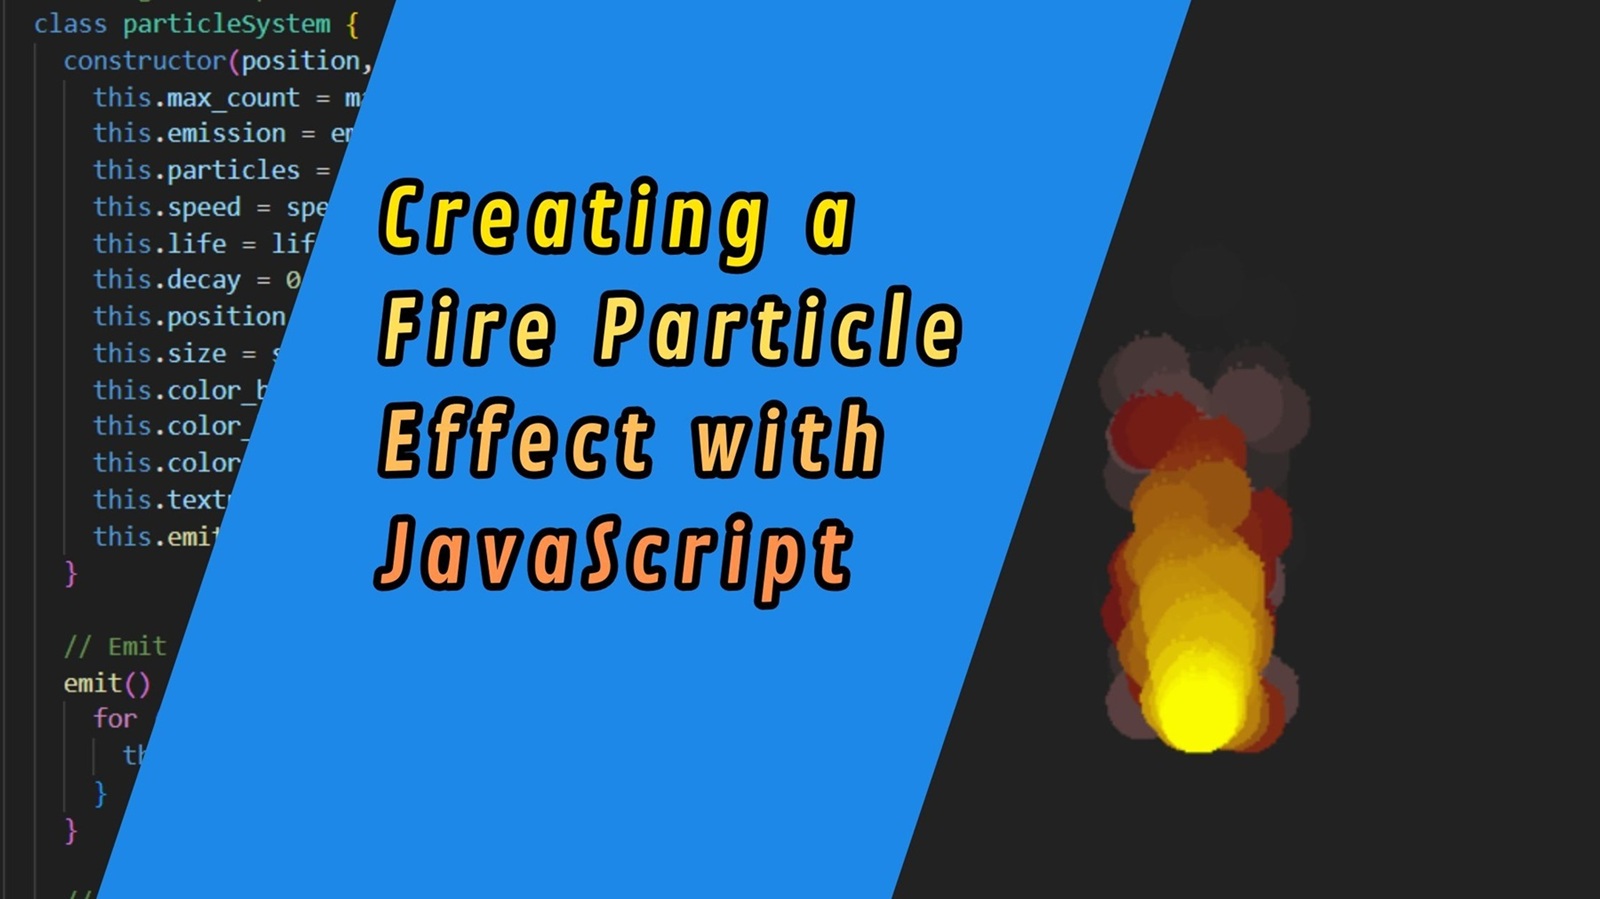
In this tutorial, we’re going to build a cool fire effect using plain JavaScript and the HTML5 <canvas> element. We will use only JavaScript ,and no external libraries or frameworks for the creative coding. Lets get started!
Prerequisites
Before we get started, make sure you have a basic understanding of HTML, CSS, and JavaScript.
- Basic Understanding of HTML, CSS, and JavaScript: Familiarity with the fundamental concepts of HTML for structuring web pages, CSS for styling, and JavaScript for adding interactivity is essential. This tutorial assumes a basic knowledge of these languages.
- Web Browser: Use a modern web browser like Google Chrome, Mozilla Firefox, or Microsoft Edge.
For the purpose of this tutorial, you can download the source files for the demo to help you follow along:
Note: As you test the source files, ensure that you load them within a suitable environment such that all the files are loaded. For offline use, we recommend that you use Live Server and vscode to load the files. Simply open the files in Vscode and run “index.html” using Live Server.
Demo
Here is what we are going to create.
Lets Get Started!
We start with a basic HTML page that includes a <canvas> element.
<!DOCTYPE html>
<html lang="en">
  <head>
    <meta charset="UTF-8" />
    <meta name="viewport" content="width=device-width, initial-scale=1.0" />
    <title>Fire Effect</title>
  </head>
  <body>
    <!-- Canvas for rendering the fire effect -->
    <canvas  id="canvas"  width="500px" height="500px" style="background: #222"></canvas>

    <script>

    </script>
  </body>
</html>
In the script tag, we can setup some initial variables:
      // Get canvas and context
      const canvas = document.getElementById("canvas");
      const ctx = canvas.getContext("2d");
      const width = canvas.width;
      const height = canvas.height;
🧪 Step 1: Create the Fire Texture
To simulate glowing particles, we first create a soft texture using a temporary canvas. We will color the texture later.
// Generate a texture made of radial white blobs
      function create_texture(size) {
        const tempCanvas = document.createElement("canvas");
        tempCanvas.width = size;
        tempCanvas.height = size;
        const ctx = tempCanvas.getContext("2d");

        const centerX = size / 2;
        const centerY = size / 2;
        const blobCount = 300;

        ctx.fillStyle = "black";
        ctx.fillRect(0, 0, size, size);

        // Draw multiple radial white blobs
        for (let i = 0; i < blobCount; i++) {
          const angle = Math.random() * 2 * Math.PI;
          const distance = Math.random() * size * 0.4;

          const x = centerX + Math.cos(angle) * distance;
          const y = centerY + Math.sin(angle) * distance;
          const radius = 0.6 * size * 0.05;

          const gradient = ctx.createRadialGradient(x, y, 0, x, y, radius);
          gradient.addColorStop(0, `rgba(255,255,255,${Math.random() * 0.5 + 0.3})`);
          gradient.addColorStop(1, `rgba(255,255,255,0)`);

          ctx.fillStyle = gradient;
          ctx.beginPath();
          ctx.arc(x, y, radius, 0, Math.PI * 2);
          ctx.fill();
        }

        // Central glow
        ctx.fillStyle = "#fff";
        ctx.arc(centerX, centerY + 2, size * 0.4, 0, Math.PI * 2);
        ctx.fill();

        const image = new Image();
        const data = ctx.getImageData(0, 0, size, size);
        image.src = tempCanvas.toDataURL();

        return { texture: image, data: data };
      }
🧭 Step 2: The Vector Class
The vector class is used to handle the position and movement of the particles. It allows us to add velocity (speed in a certain direction) and scale movement.
Here’s the vector class:
// Basic vector class for position and velocity
      class vector {
        constructor(x, y) {
          this.x = x;
          this.y = y;
        }
        add(vec) {
          this.x += vec.x;
          this.y += vec.y;
          return this;
        }
        copy() {
          return new vector(this.x, this.y);
        }
        scale(scale) {
          this.x *= scale;
          this.y *= scale;
        }
      }
How It Works:
- add(vec): Adds the values of another vector to the current one (useful for moving the particle).
- copy(): Returns a new vector with the same x and y values (useful for cloning the velocity).
- scale(scale): Scales the vector by a certain factor, making it move faster or slower.
🎇 Step 3: Particle Class
Each texture drawn in the fire effect is a particle. It moves upward and fades out over time. Using the drawing function, we can color the particle texture by replacing the pixel colors. Particles fade from yellow to red to dark, giving the effect of fire.
// Represents a single particle in the fire
      class particle {
        constructor(system, speed, position, life, decay) {
          this.life = life;
          this.max_life = life;
          this.speed = speed.copy();
          this.decay = decay;
          this.parent = system;
          this.position = position.copy();
          system.particles.push(this);
        }

        draw() {
          const alpha = this.life / this.max_life;
          const pos = this.position;
          const size = this.parent.size;
          const textureData = this.parent.textureData;

          // Color based on life (red, orange, yellowish-white)
          let r = 255, g = 0, b = 0;
          if (alpha > 0.5) {
            const t = (alpha - 0.66) / (