Creating A Painting App In JavaScript
Have you ever wanted to build your own drawing application? With just a bit of HTML, CSS, and JavaScript, you can create a fully functional paint app right in your browser! In this tutorial, we will walk through a simple project that lets users draw, change brush size and color. Hopefully, by the end of this tutorial you have learnt something new about JavaScript.
Prerequisites
Before we get started, make sure you have a basic understanding of HTML, CSS, and JavaScript.
- Basic Understanding of HTML, CSS, and JavaScript: Familiarity with the fundamental concepts of HTML for structuring web pages, CSS for styling, and JavaScript for adding interactivity is essential. This tutorial assumes a basic knowledge of these languages.
- Web Browser: Use a modern web browser like Google Chrome, Mozilla Firefox, or Microsoft Edge.
For the purpose of this tutorial, you can download the source files for the demo to help you follow along:
Note: As you test the source files, ensure that you load them within a suitable environment such that all the files are loaded. For offline use, we recommend that you use Live Server and vscode to load the files. Simply open the files in Vscode and run “index.html” using Live Server.
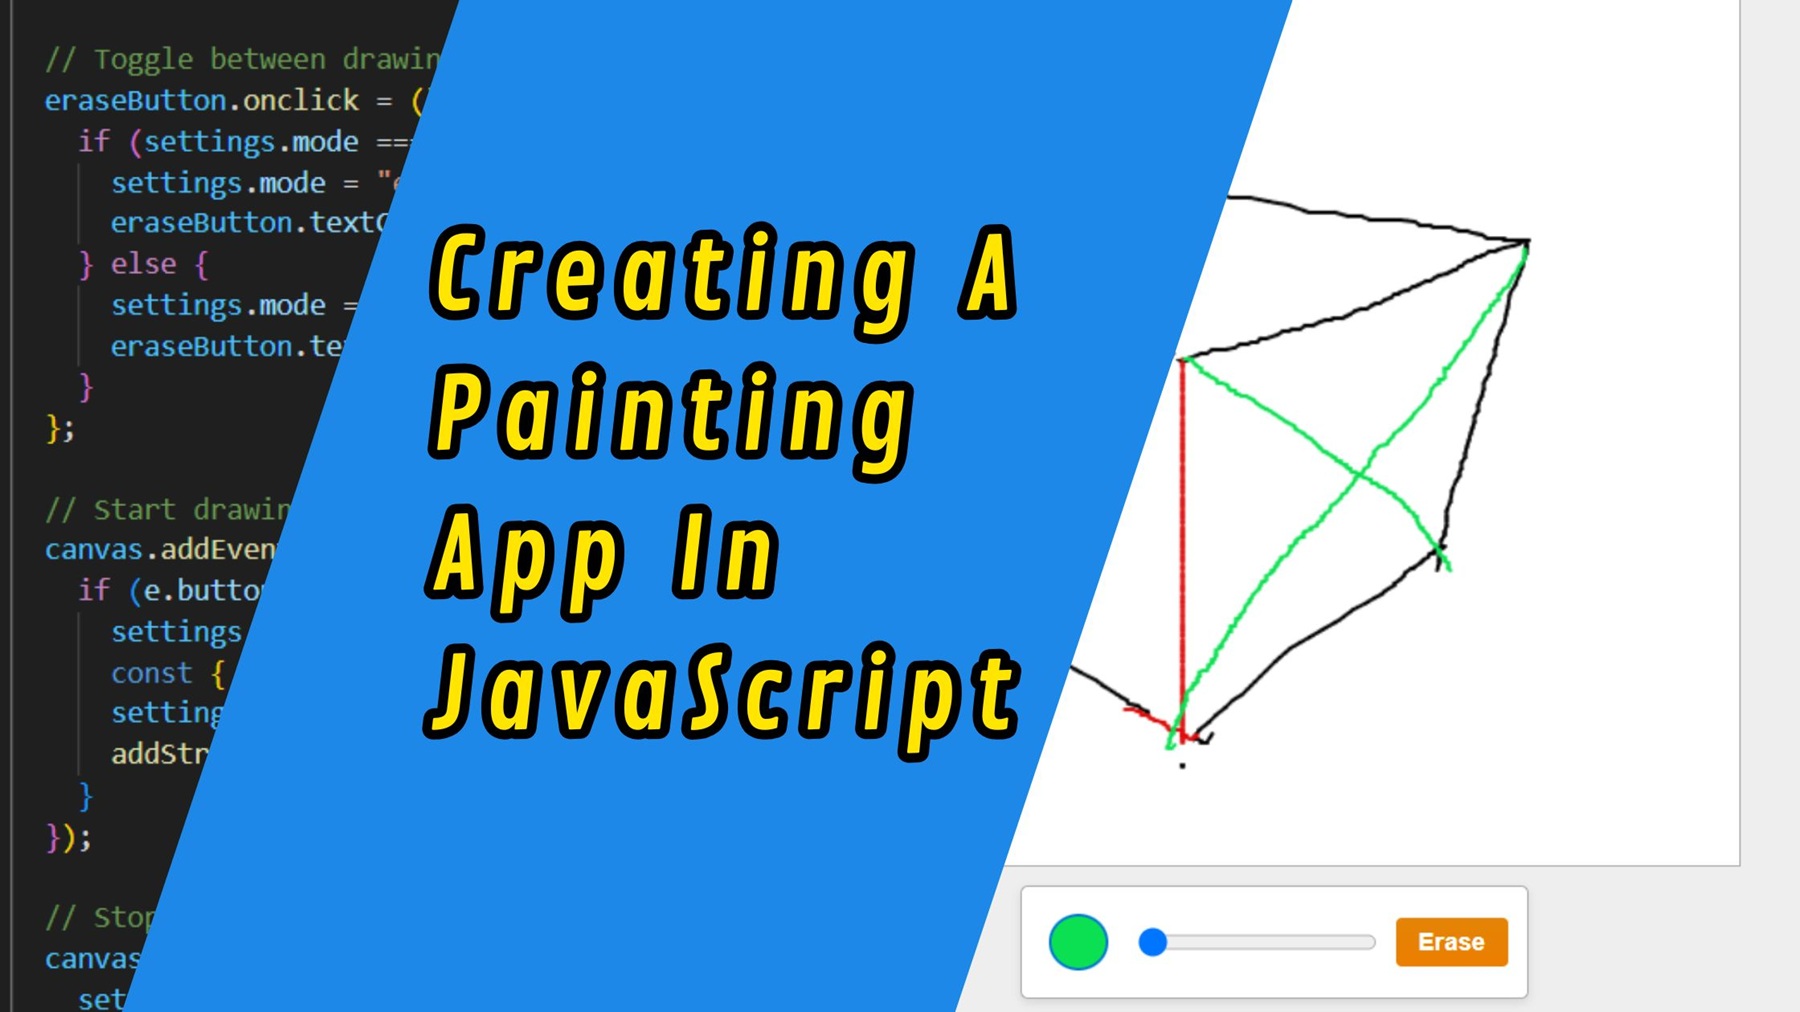
Demo
Here is what we are going to create.
Lets breakdown the App
Our paint app includes:
- A canvas where users can draw with their mouse
- A color picker to choose brush colors
- A slider to adjust brush size
- A button to toggle between drawing and erasing
Let’s break down how it works.
Lets Get Started!
We start with a basic HTML layout that includes a <canvas> element and a toolbar with controls.
💻Creating the Basic Structure
Here is the basic html structure that we need:
<!DOCTYPE html>
<html lang="en">
  <head>
    <meta charset="UTF-8" />
    <meta name="viewport" content="width=device-width, initial-scale=1.0" />
    <title>Paint App</title>
    <style>

    </style>
  </head>
  <body>
    <!-- Main container -->
    <div>
      <!-- Drawing canvas -->
      <canvas id="canvas" width="500" height="500"></canvas>

      <!-- Controls: color picker, brush size slider, erase/draw toggle button -->
      <span>
        <input id="color" type="color" value="#000000" />
        <input id="brush" type="range" min="1" max="20" value="4" />
        <button id="erase">Erase</button>
      </span>
    </div>

    <script>


    </script>


  </body>
</html>
- Canvas: This is where all the drawing magic happens.
- Color Picker: Lets users choose their drawing color.
- Range Slider: Controls the brush size.
- Button: Toggles between drawing and erasing.
🎨 Styling the App
We used CSS to center everything on the page and make the toolbar and canvas easy to use.
Some key highlights:
- The canvas has a border and white background.
- We use custom styles for the color picker to make it look polished.
- The "Erase" button uses a gradient and hover effect to stand out.
Here’s a snippet of the CSS:
 <style>
      /* Basic layout styling for the body and div containers */
      body,
      body div {
        display: flex;
        flex-direction: column;
        justify-content: center;
        align-items: center;
      }

      /* General body styling */
      body {
        background: #eee;
        margin: 0;
        padding: 20px;
        font-family: sans-serif;
      }

      /* Canvas styling for drawing */
      canvas {
        border: 1px solid #aaa;
        background: #fff;
        cursor: none; /* Hide the default cursor */
      }

      /* Styling for the toolbar container */
      span {
        display: flex;
        flex-direction: row;
        align-items: center;
        padding: 10px;
        margin-top: 10px;
        background: #fff;
        border: 1px solid #aaa;
        border-radius: 4px;
        box-shadow: 0 2px 5px rgba(0, 0, 0, 0.1);
      }

      /* Color picker styling */
      input[type="color"] {
        width: 40px;
        height: 40px;
        border: none;
        appearance: none;
        background: none;
        cursor: pointer;
        margin-right: 10px;
      }

      /* Custom color swatch style */
      input[type="color"]::-webkit-color-swatch {
        border-radius: 50%;
        border: 2px solid #047ad4;
      }

      /* Brush size slider spacing */
      input[type="range"] {
        margin-right: 10px;
      }

      /* Erase/Draw button styling */
      button {
        background: linear-gradient(#e48405, #eb7e00);
        border: none;
        padding: 5px 12px;
        border-radius: 3px;
        cursor: pointer;
        color: white;
        font-weight: bold;
      }

      /* Button hover effect */
      button:hover {
        opacity: 0.9;
      }
    </style>
⚙️Lets Make Things Work Using JavaScript
The JavaScript handles all user interaction and rendering logic
🎯 Initialization: DOM Elements, Variables, and Settings
Before the drawing begins, we need to grab our DOM elements and set up some configuration for how the app will behave. This includes getting references to the canvas, setting default values for brush size and color, and creating a structure to store the drawing history.
const canvas = document.getElementById("canvas");
const ctx = canvas.getContext("2d");

const colorInput = document.getElementById("color");
const brushInput = document.getElementById("brush");
const eraseButton = document.getElementById("erase");

const drawing = []; // Stores all drawing strokes

const settings = {
  mode: "drawing", // can also be "erase"
  brush: 4, // brush size in pixels
  color: "#000", // default black color
  mouse: { x: null, y: null }, // current mouse position
  is_drawing: false, // is the user currently drawing?
  previousMouse: null, // last known mouse position
};
✏️ Drawing Essentials: drawLine, drawDot, and drawCursor
Let’s talk about the core drawing logic. These functions handle visual rendering on the canvas : lines, individual points (dots), and even a custom cursor to replace the default mouse pointer.
1.drawLine function
This function draws a continuous stroke between two points
// Draw a line segment between two points
      function drawLine(start, end, size, color) {
        ctx.beginPath();
        ctx.strokeStyle = color;
        ctx.lineWidth = size * 2;
        ctx.lineCap = "round";
        ctx.moveTo(start.x, start.y);
        ctx.lineTo(end.x, end.y);
        ctx.stroke();
        ctx.closePath();
      }
2. drawDot function
This function is used to draw single dots or eraser marks
// Draw a dot (circle or square depending on mode)
      function drawDot(x, y, size, color, mode) {
        ctx.beginPath();
        if (!mode) {
          ctx.fillStyle = color;
          ctx.arc(x, y, size, 0, 2 * Math.PI);
          ctx.fill();
        } else {
          ctx.fillStyle = color;
          ctx.fillRect(x - size / 2, y - size / 2, size, size);
        }
        ctx.closePath();
      }
3.drawLine function
This function draws a custom brush cursor preview on the canvas
 // Draw a custom cursor on the canvas
      function drawCursor() {
        const { x, y } = settings.mouse;
        const size = settings.brush;
        if (x != null && y != null) {
          if (settings.mode === "drawing") {
            drawDot(x, y, size, settings.color, false);
          } else {
            ctx.beginPath();
            ctx.strokeStyle = "orange";
            ctx.lineWidth=1;
            ctx.arc(x, y, size, 0, 2 * Math.PI, false);
            ctx.stroke();
            ctx.closePath();
          }
        }
      }
🖱 Getting Mouse Coordinates with getMousePos
To draw exactly where the mouse moves on the canvas, we convert screen coordinates into canvas-relative coordinates using this helper function:
// Get mouse coordinates relative to canvas
      function getMousePos(event) {
        const rect = canvas.getBoundingClientRect();
        return {
          x: event.clientX - rect.left,
          y: event.clientY - rect.top,
        };
      }
🖌 Handling Mouse Events and Drawing Logic
Now it’s time to wire up the interactive parts — how we respond to mouse clicks, movement, and the erase/draw toggle.
Handle brush color and size updates:
 // Update color setting when color input changes
      colorInput.onchange = () => {
        settings.color = colorInput.value;
      };

      // Update brush size when slider moves
      brushInput.oninput = () => {
        settings.brush = parseInt(brushInput.value);
      };
Toggle between draw and erase modes:
      // Toggle between drawing and erasing
      eraseButton.onclick = () => {
        if (settings.mode === "drawing") {
          settings.mode = "erase";
          eraseButton.textContent = "Draw";
        } else {
          settings.mode = "drawing";
          eraseButton.textContent = "Erase";
        }
      };
Mouse down: Begin a stroke
   // Start drawing on mousedown
      canvas.addEventListener("mousedown", (e) => {
        if (e.button === 0) { // Left mouse button
          settings.is_drawing = true;
          const { x, y } = getMousePos(e);
          settings.previousMouse = { x, y };
          addStroke(x, y);
        }
      });
Mouse up: End the stroke
    // Stop drawing on mouseup
      canvas.addEventListener("mouseup", () => {
        settings.is_drawing = false;
        settings.previousMouse = null;
        drawing.push(null); // Add separator between strokes
      });
Mouse move: Draw lines
// Draw as the mouse moves
      canvas.addEventListener("mousemove", (e) => {
        const { x, y } = getMousePos(e);
        settings.mouse = { x, y };

        if (settings.is_drawing) {
          if (settings.previousMouse) {
            drawLine(
              settings.previousMouse,
              { x, y },
              settings.brush,
              settings.mode === "erase" ? "#fff" : settings.color
            );
            addStroke(x, y);
          }
          settings.previousMouse = { x, y };
        }
      });
Mouse out: Cancel drawing if mouse leaves canvas
// Reset drawing state when mouse leaves canvas
      canvas.addEventListener("mouseout", () => {
        settings.mouse = { x: null, y: null };
        if (settings.is_drawing) {
          drawing.push(null);
        }
        settings.is_drawing = false;
        settings.previousMouse = null;
      });
🗃 Tracking Strokes with addStroke
To be able to redraw the canvas on every animation frame, we keep track of every point drawn — including its position, color, size, and mode (draw or erase).
// Add a new stroke to the drawing history
      function addStroke(x, y) {
        const stroke = {
          x,
          y,
          color: settings.mode === "erase" ? "#fff" : settings.color,
          size: settings.brush,
          mode: settings.mode === "erase",
        };
        drawing.push(stroke);
      }
🧹 Canvas Clearing and Redraw with clearCanvas and update
The canvas is redrawn from scratch on every frame. This may sound inefficient, but it keeps everything clean and allows us to render a live preview of the brush.
Clearing the canvas:
 // Clear the entire canvas
      function clearCanvas() {
        ctx.clearRect(0, 0, canvas.width, canvas.height);
      }
The Update Loop:
We need to create an update loop to help refresh our app and make it functional.
  // Main render loop to redraw all strokes and cursor
      function update() {
        clearCanvas();

        // Redraw strokes from the drawing history
        for (let i = 1; i < drawing.length; i++) {
          const prev = drawing[i - 1];
          const curr = drawing[i];

          if (!prev || !curr) continue;

          if (prev.mode === curr.mode) {
           drawLine(prev, curr, curr.size, curr.color);
          } else {
            drawDot(curr.x, curr.y, curr.size, curr.color, curr.mode);
          }
        }

        // Draw the custom cursor
        drawCursor();

        // Continue the animation loop
        requestAnimationFrame(update);
      }

      // Start the drawing loop
      update();
Conclusion
Hopefully, this breakdown gave you a deeper understanding of making interactive tools using JavaScript. As a fun challenge, you could even explore adding layers, exporting to images, or syncing drawings across browsers in real-time. Think about optimizing the stroke storage, experimenting with color blending, or designing a minimalistic UI toggle. Most importantly, make it yours. Don’t forget to share your tweaks or finished versions we would love to see your creative spin on it. Happy coding!