Building 3D Projections with JavaScript and HTML
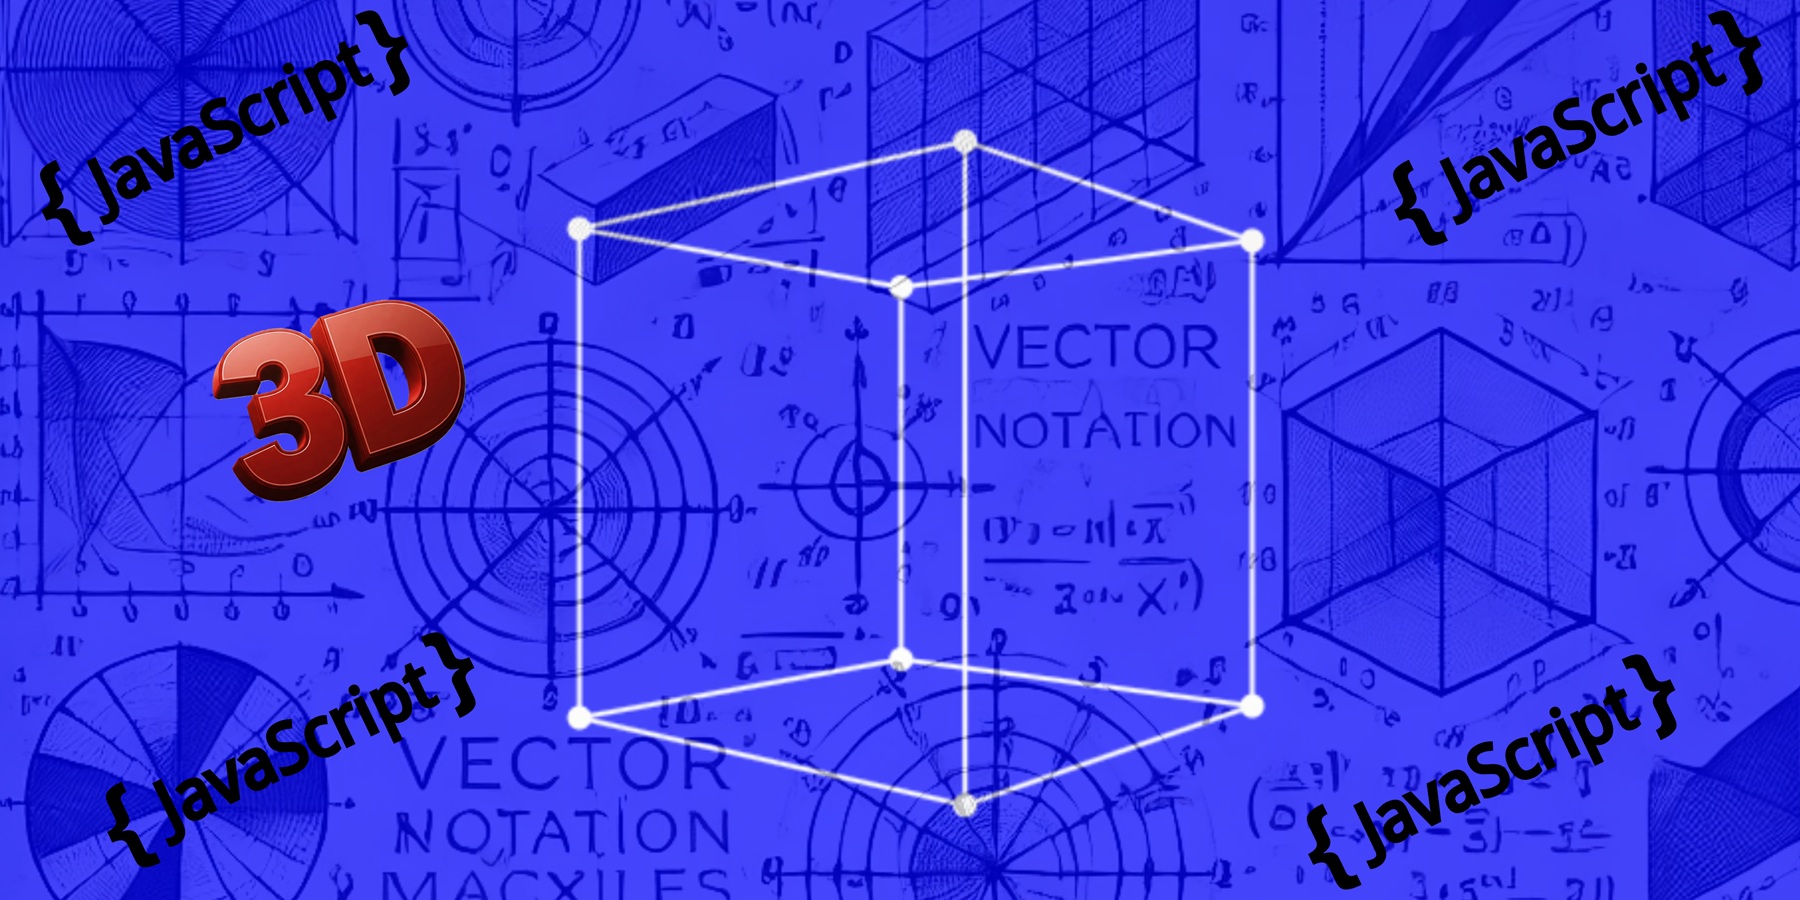
In the world of web development, creating 3D visualizations used to be complex and reserved for specialized software. However, with the power of HTML5 Canvas and JavaScript, we can now bring 3D graphics directly to the web without the need for plugins or heavy external libraries.
In this article, we’ll explore how to create a 3D model (a rotating cube) and project it onto a 2D canvas using basic JavaScript. You’ll learn how to manipulate 3D points, perform rotations, and render animations right in your browser!
As an exciting bonus, we’ll also explore how to create and visualize the tesseract ( a 4D object) expanding the possibilities of spatial dimensions and animation!
Prerequisites
Before we get started, make sure you have a basic understanding of HTML, CSS, and JavaScript.
- Basic Understanding of HTML, CSS, and JavaScript: Familiarity with the fundamental concepts of HTML for structuring web pages, CSS for styling, and JavaScript for adding interactivity is essential. This tutorial assumes a basic knowledge of these languages.
- Web Browser: Use a modern web browser like Google Chrome, Mozilla Firefox, or Microsoft Edge.
For the purpose of this tutorial, you can download the source files for the demo to help you follow along:
Note: As you test the source files, ensure that you load them within a suitable environment such that all the files are loaded. For offline use, we recommend that you use Live Server and vscode to load the files. Simply open the files in Vscode and run “index.html” using Live Server.
Demo
Here is what we are going to create.
Setting Up the Project
Let's start by setting up the basic HTML structure for our project. Create an HTML called "index.html", with a basic HTML web format, and add a canvas element.
HTML5's <canvas> element allows you to draw graphics directly on a webpage using JavaScript. It's essentially a blank space where we can paint anything we like 2D shapes, images, and even 3D projections!
Creating the Canvas Element
To get started, we need a <canvas> element in our HTML file:
<canvas id="canvas" width="500" height="500" style="background: black;"></canvas>
This creates a 500x500-pixel canvas with a black background. The next step is to access this canvas through JavaScript and set up a 2D rendering context for drawing.
Also, add a script tag for our javascript code, and you are good to go!
Here is our full code template.
<!DOCTYPE html>
<html lang="en">

<head>
    <meta charset="UTF-8">
    <meta name="viewport" content="width=device-width, initial-scale=1.0">
    <title>3D Projection</title>
</head>

<body>

    <!-- Create a canvas element to draw on -->
    <canvas id="canvas" width="500" height="500" style="background: black;"></canvas>

    <script type="text/javascript">

    </script>

</body>

</html>
Understanding 3D Coordinates and Projections
In a 3D space, every point is defined by three coordinates: x, y, and z. But since we’re working with a 2D canvas, we need to "flatten" these 3D points into 2D to display them. To do this we need to do a projection.
The Concept of Perspective Projection
To simulate the depth of 3D space on a 2D canvas, we can use a perspective projection. This means objects farther from the viewer will appear smaller. Here’s the basic formula for projecting a 3D point onto a 2D plane:
let x2D = (x / (z + D)) * f + width / 2;
let y2D = -(y / (z + D)) * f + height / 2;
Where:
x,y, andzare the coordinates of the 3D point.fis the focal length (how zoomed in/out the scene is).Dis the distance from the viewer (larger values make objects smaller).widthandheightare the dimensions of the canvas.
Lets Dive Into the Code
1.Initial Variables
First of all, we need to create some variable that will drive our simulation.
    // Access the canvas element and its 2D rendering context
    var canvas = document.getElementById("canvas");
    const width = canvas.width; // Canvas width
    const height = canvas.height; // Canvas height
    var gl = canvas.getContext("2d"); // 2D drawing context

    const timeout = 50; // Timeout for animation update
    const f = 500;  // Focal length for 3D projection (larger values make objects smaller)
    const D = 500;  // Distance from the viewer (larger values make objects appear smaller)
These variables will allow us to define the canvas properties, such as its width and height, and set the parameters necessary for the 3D projection. We'll also configure the focal length and viewer distance, which control how objects are rendered and scaled within the canvas. Additionally, we'll set up a timeout to regulate the animation updates, ensuring smooth and consistent rendering as we animate the rotating cube.
2. The Update Function
The update() function is the heart of the code. It’s responsible for refreshing the canvas, rotating the 3D model, and redrawing it. This function is called repeatedly using setTimeout,an inbuilt function for creating an animation loop.
function update() {

    setTimeout(update, timeout);  // Continuously update the canvas
}
setTimeout(update, timeout);
3. The ClearScreen Function
This function is responsible for clearing the canvas and resetting the background color before each frame of the animation.
function clearScreen() {
    gl.fillStyle = "blue";  // Set background color to blue
    gl.fillRect(0, 0, width, height);  // Fill the entire canvas with the color
    gl.fill();  // Apply the fill
}
To use the clear function, we must call it the update function as shown below: